Getting Started
The following guide is meant to give a first brief introduction and overview of the general workflow of creating an assessment for a course when using Autolab for the very first time here at DTU. Autolab grants a lot of freedom to its users in how they can structure their assessments. Therefore, this guide aims to give a clear starting point for new users by providing a suggested structure and conveying the basics for creating assessments.
After you have made yourself familiar with the basics of Autolab by following this guide and the following tutorials, you can find further examples and inspiration for autograders on Autolab’s GitHub at [1] and [2]. The official Autolab documentation on how to create an assessment from scratch can be found here.
1. Create an Assessment
An Autolab assessment is a directory containing all the files needed to run the autograder, including code, handouts, and configuration. Autolab only creates and maintains configuration files. All other files and code have to be provided by the user. As a user of Autolab at DTU you do not have access to the Autolab assessment directory. This means that you will have to create the necessary files locally and then upload them to Autolab.
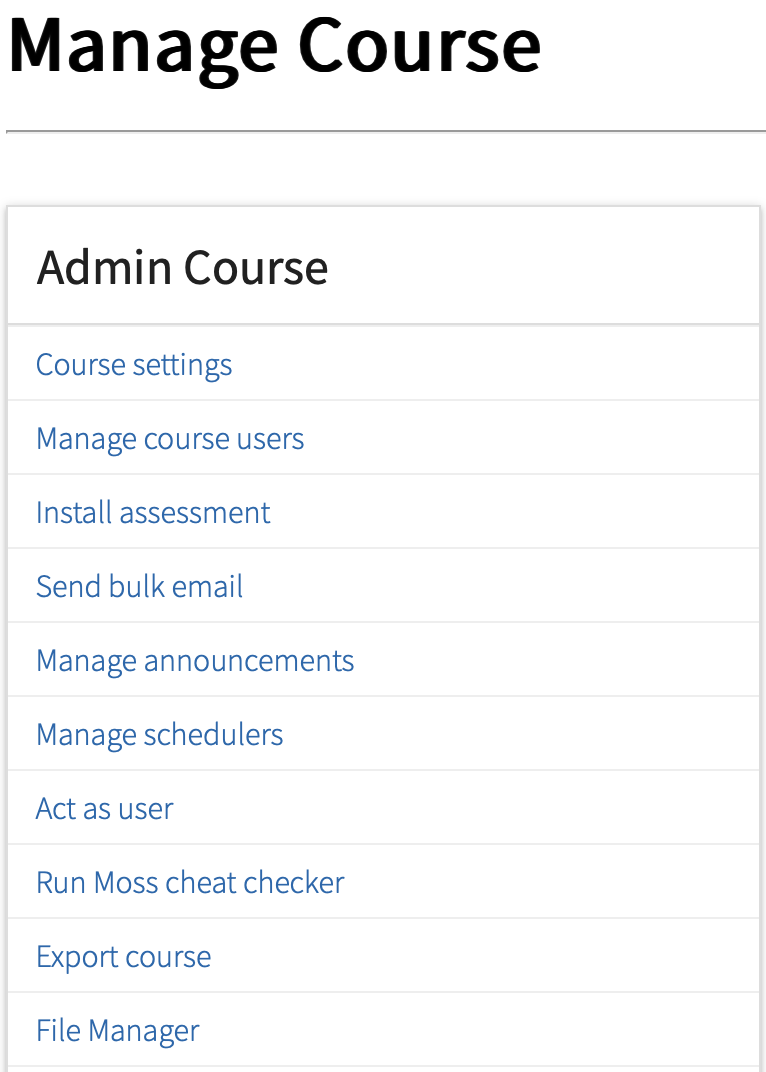
The assessment directories for your course can be viewed and edited in the File Manager.

Note
Be aware that while you can view your files on Autolab in File Manager you cannot edit or run them.
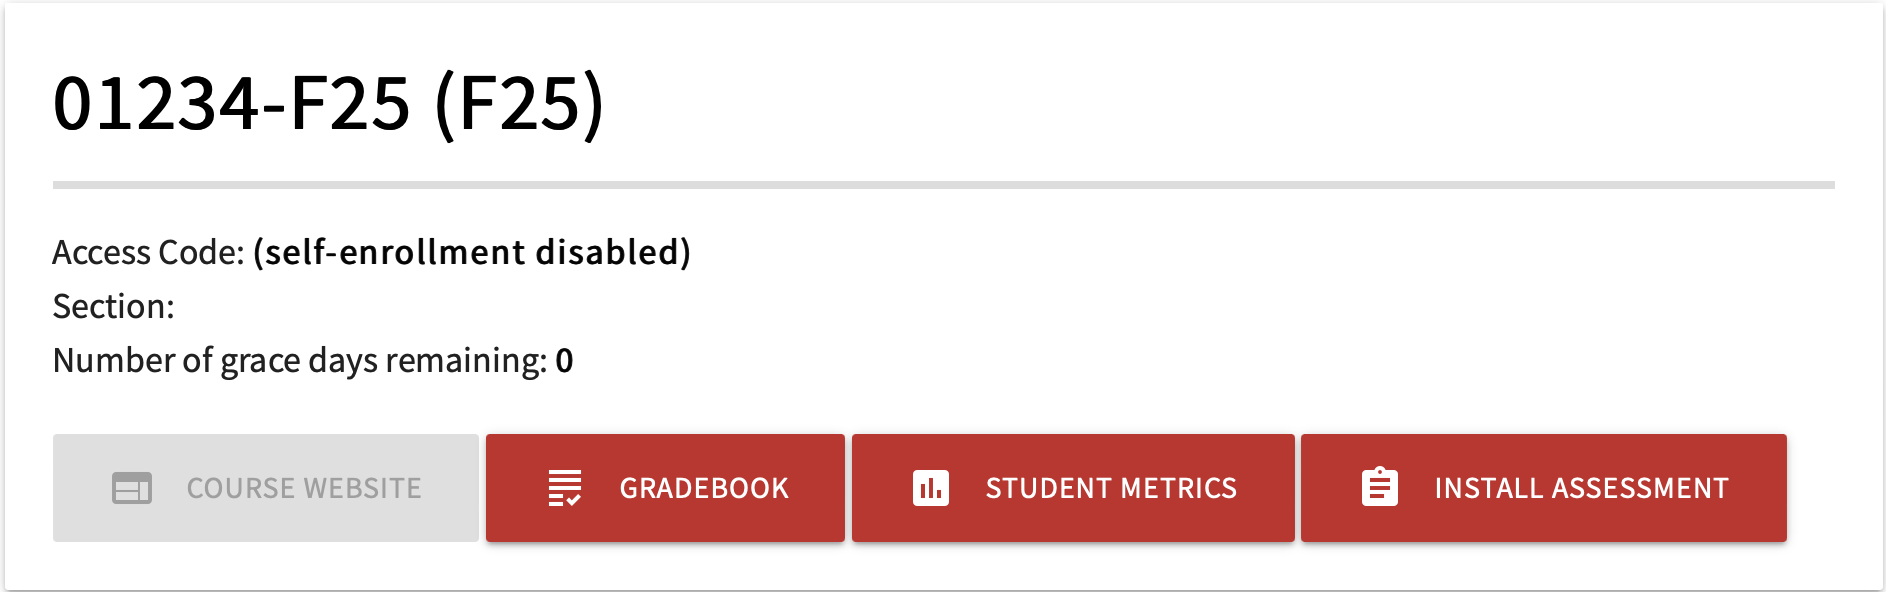
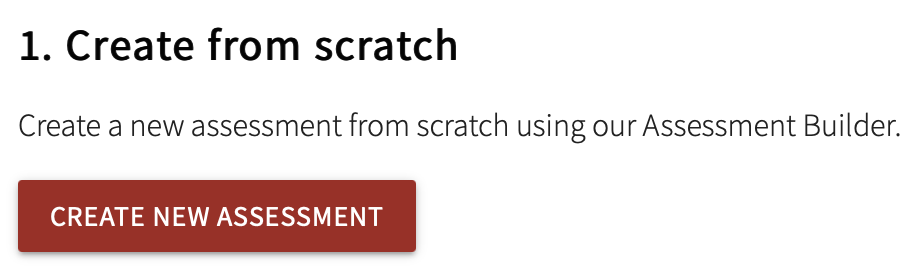
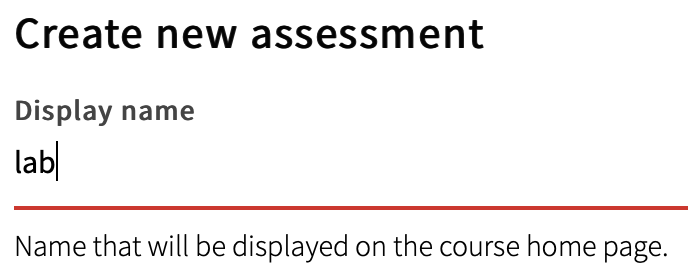
Start by creating a new assessment by clicking Install Assessment → Create new assessment. Choose a display name for your assessment (in the following, “lab” is used as a name placeholder) and continue with Create Assessment.
Choose Install Assessment
Select Create New Assessment
Choose a display name
Finish with Create Assessment
Autolab has now created a lab directory (lab/) for your assessment, which contains the necessary configuration files, lab.rb and lab.yml. Autolab creates and manages those.
Note
Names for lab directories must be unique within courses and must be valid Ruby identifiers. Autolab will generate a name for the lab directory based on your chosen display name. If your display name raises an error, consider the former.
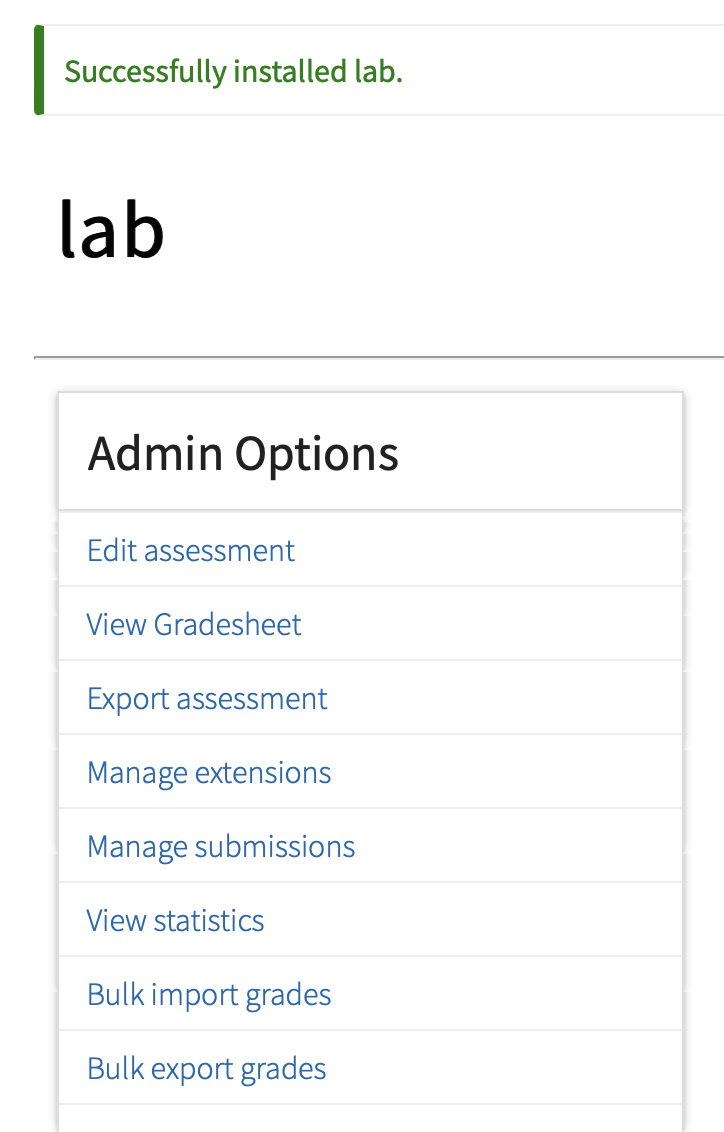
Export the assessment you have created by clicking on your assessment and Admin Options → Export assessment.
You have now downloaded the assessment folder to your computer and can develop your autograder locally. Autolab suggests in its documentation a directory structure for a working autograding program similar to the following:
Lab Structure
Click on “lab” to expand the directory:
- -- Files created by the author: --
- Makefile Builds the lab from src/
- README
- autograde-Makefile Makefile that runs the autograder
- Contains all source files and solutions
- driver.sh Autograder script
- solution.py-handout Blank solution.py file handed out to students, where students can enter their solution
- For testing autograder offline (optional)
- Makefile autograde-Makefile which was renamed to Makefile
- autograde.tar
- solution.py Test solution
- lab-handout.tar Archive of lab-handout/
- autograde.tar Archive of autograde.tar/. This file is copied to the autograding instance (along with autograde-Makefile and the student submission)
- lab.rb Config file
- lab.yml Database properties that persist from semester to semester
- lab.yml Log of autograded submissions
-- Files created by running make: --
-- Files created and managed by Autolab: --
First, let’s focus on the most important files, which are required to run an autograder instance.
In order to run an autograder instance, Autolab requires:
- an archive called
autograde.tarthat contains all files and code to test the student submission. - a makefile called
autograde-Makefilethat extractsautograde.tar, adds the student submission to it and runs the code to test the submission. - a student submission
The following steps will guide you through creating all necessary files to build a running Autolab assessment.
2. Create src/
Start by creating and filling the src folder. This folder will contain all the files, which will be required to build the assessment in the following. In its simplest form it only has to contain a driver file, which runs tests on the student submission.
The driver file can be in any language as long as it can run on the Docker container on which your assessment will be graded. In this very first example we will use a short shell script driver.sh, which can run on the default Docker Container provided by Autolab, autograding_image.
We also create a skeleton solution which students will be able to write their solution in. In our example this will just be an empty Python file, say solution.py-handout. For this example, the programming language extension is arbitrary, since solution.py is empty and only used as placeholder here.
3. Create driver file
In order for Autolab to be able to return feedback, driver must print the score in a json string . This string has to be the last line printed to stdout. It has to have the following structure:
{ "scores": { "Problem 1": <score 1>, "Problem 2": <score 2>, ... } }The “Problems” in this string are test cases that the student submission is tested on in driver and the scores following them express how much they contribute to the total score of the assessment.
Note
- The number of Problems and the Problem scores are arbitrary. The total score does not have to be 100.
- The names of these Problems will also have to be specified when editing the assessment on Autolab later on in step 8.
What driver will check in the student submission is entirely up to you and is only limited by your imagination. Only the json string is essential.
An example might be to test if a function that a student handed in, produces the correct result in various test cases for varying input parameters.
For the purpose of this tutorial, we will consider an example where no actual checking is done. Later tutorials in Examples Python will deal with examples that will actually check something.
We can create a driver.sh file, which simply prints the result in a json string without having tested anything. It can look like:
# driver.sh

echo '{ "scores": { "Problem 1": 50, "Problem 2": 50 } }'
4. Create Makefile
This makefile will build lab-handout.tar and autograde.tar. lab-handout.tar contains files, which students can download. autograde.tar has to contain all files which are needed to grade the submission. In our case it could look like this:
all:
	rm -rf lab-handout
	rm -rf autograde
	mkdir lab-handout	# Create a folder lab-handout
	mkdir autograde 	# Create a folder autograde

	# Copy solution.py-handout into lab-handout/ from src and rename to solution.py
	cp -p src/solution.py-handout lab-handout/solution.py

	tar cvf lab-handout.tar lab-handout	# Create lab-handout.tar from lab-handout

	# Fill autograde/ with all files needed for autograding and create autograde.tar
	cp -p src/driver.sh autograde		# Copy driver.sh into autograde
	tar cvf autograde.tar autograde		# Create autograde.tar from autograde
clean:
	rm -rf lab-handout.tar
	rm -rf autograde.tar
After you have created Makefile run the command make in the lab folder. You will then have a handout folder lab-handout/, lab-handout.tar, autograde/ and autograde.tar.
5. Create autograde-Makefile
This makefile will run the autograder. In our case it could look like this:
all:
	tar xvf autograde.tar	# extract autograde.tar
	cp solution.py autograde	# copy the student submission to the extracted autograde.tar
	(cd autograde; chmod +x driver.sh; ./driver.sh) # run driver.sh

clean:
	rm -rf *~ autograde
6. Test Autograder
Before uploading your assessment you can create the folder test-autograder/ in lab/ if you want to test your autograder on your local computer. This folder should contain autograde.tar and the solution (or a solution with errors to test your autograder). Furthermore, we need a Makefile, which runs the autograder as it would on Autolab. This is just your autograde-Makefile. Once you have copied it into test-autograder you need to rename it to Makefile, so that you can run a make command in the test-autograder/ directory.
In our example, test-autograder/ looks like:
- Makefile # autograde-Makefile which was renamed to Makefile
- autograde.tar
- solution.py # Test solution
Try running the command make in this directory. It should simulate the autograder and print the json result as last line in stdout.
7. Upload Assessment
When you are ready to upload, tar your lab folder, e.g. lab.tar. Navigate again to Install Assessment but this time choose Import from Tarball. Choose your tarball and import it. Autolab will replace the existing assessment that carries the same name as the lab in the tarball with the lab in the tarball. If you have not changed the name of your lab folder you are simply updating your assessment on Autolab.
Note
The configuration files lab.yml and lab.rb will not be updated by this re-upload.
Assessments can also be uploaded in bulk. This could be relevant for the case that many assessments, that have already been created, need to be updated simultaneously. In this case, follow these steps:
- Export the whole course under Manage Course –> Export Course
- Update the assessments (remember to update
autograde.tarby running theMakefilefrom Step 4) - tar the course folder
- Send it to IT-support
We will then update the assessment folders in the course directory on the server.
8. Edit Assessment
Go to Edit assessment.

Basic
Under the BASIC tab add a description to the assessment and specify the names of the handout folder and the writeup file. The writeup file is either a pdf or html document, which students can view in their browser, containing e.g. an elaborate formulation of the exercise for the assessment. If you decide to offer a writeup-file to the students, you can store it in lab/writeup/.
The necessary edits in Autolab for our example could look like:
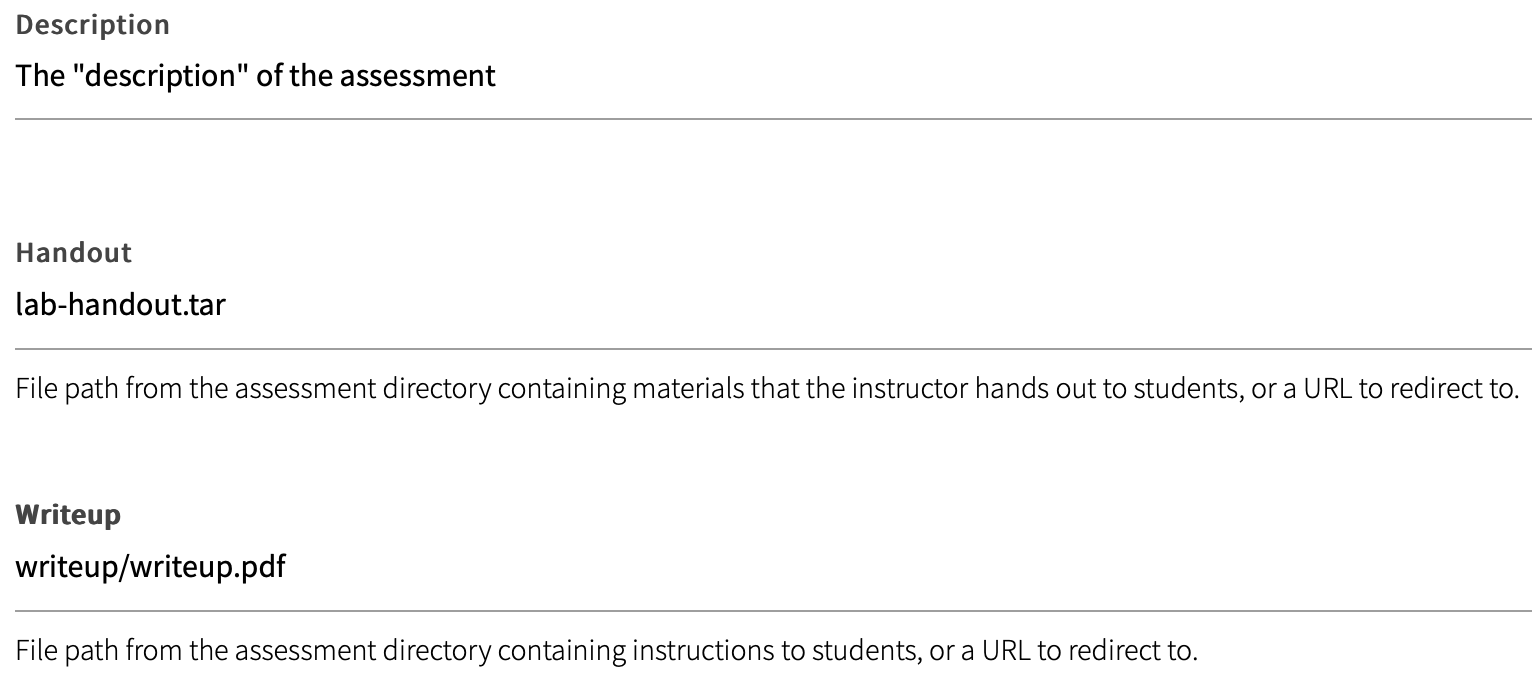
These configurations will be displayed in Autolab to the students in the following way.
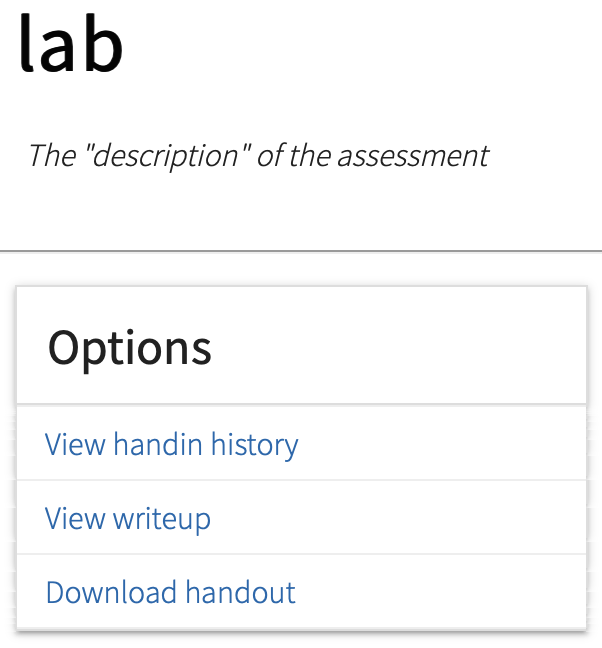
Handin
Under the HANDIN tab choose a base name and suffix for the student submissions under Handin filename. Autolab only asks for the suffix in this input field; however, you have to enter the whole base name. By doing so you specify the type of file that the submissions have to be such as the filename that submissions will automatically be renamed to by Autolab before it runs driver. It has to be the same file name and suffix that you specified for the solution file in autograde-Makefile.

Also, select the relevant dates for your assessment.
Problems
Under the PROBLEM tab create the problems and scores, which you have specified in the json result of your assessment. They have to be identical. In our example with { "scores": { "Problem 1": 50, "Problem 2": 50 } } we would choose “Problem 1” and “Problem 2” and specify them like:
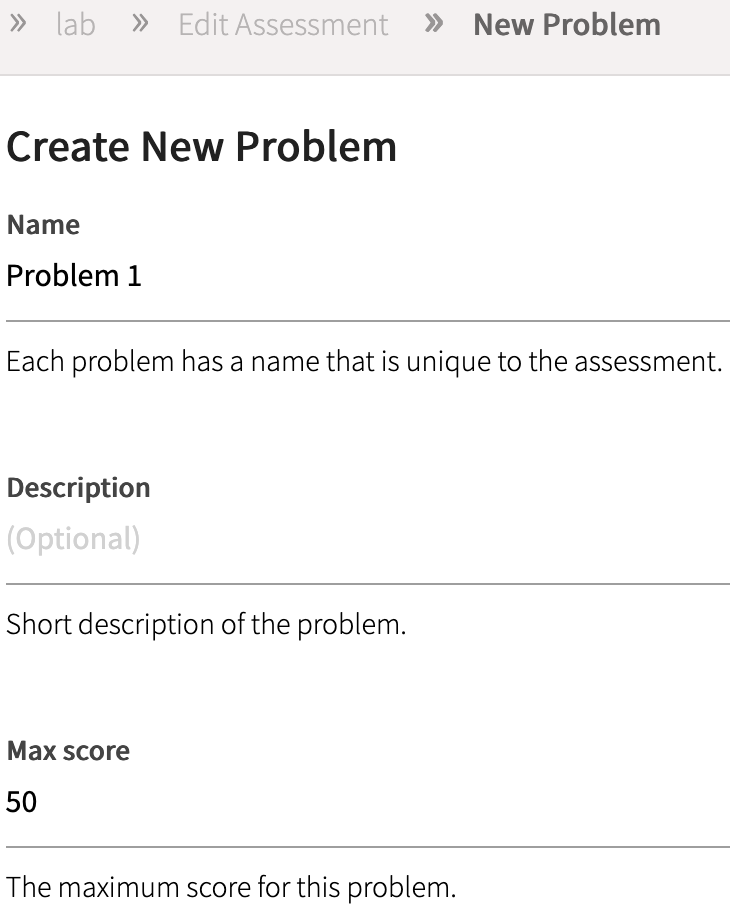
Remember to click Save at the bottom, once you have edited all tabs.
9. Add Autograder Image
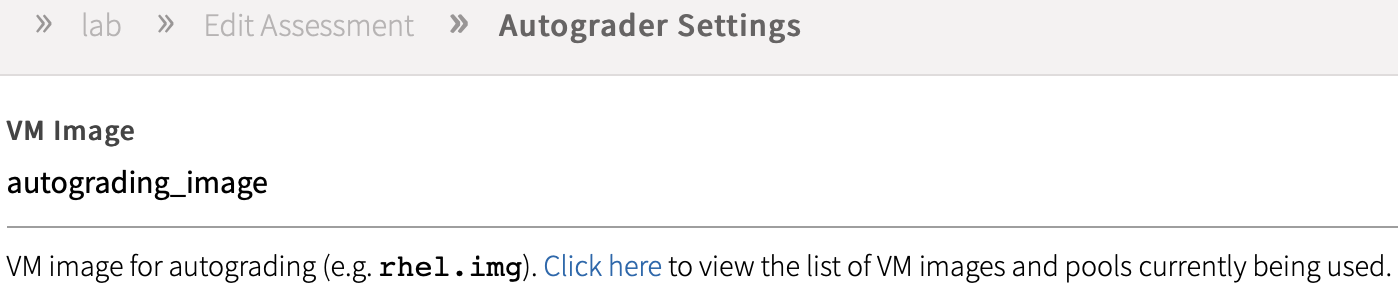
Before your assessment can run you have to specify the Docker container on which it should be graded. In Edit Assessment, choose Autograder Settings. Here you can choose the autograder image on which you wish your assessment to be graded. The default image by Autolab is an ubuntu image called “autograding_image”. You can use this for this example, however, your course will likely require special packages or software. This means that you will have to create a new Docker container by writing the required Dockerfile.
The tutorial in Autograding Image provides Autolab’s default Dockerfile as well as an example Dockerfile that has Python installed, which will be necessary to run the examples provided in Examples Python.
For our example here, you can use “autograding_image”. Enter it into the “VM Image” slot and click Save Settings.