Examples Python
Before you try running these examples, make sure you have a running Docker container that has Python installed. For the following tutorials you can use the Dockerfile from Autograding Image that has Python installed. If you use another language for your autograder, make sure you have the language and all necessary packages installed.
Example 1: Testing a function
In this example the students are asked to hand in a Python file containing a function that adds two numbers and returns a float number. We will call this assessment add.
This example builds directly on our first lab assessment. The only difference is that we now need to write an actual driver.py file. We will also need to edit the handout file for the students add.py-handout and the Makefiles, since we are now using Python and not Bash anymore.
In this example driver.py should test the student submission on two Problems:
- Problem: Does the submitted function give the correct result?
- Problem: Is the result a float?
driver.py could look something like this:
from add import add
import json

# Test Case
x = 2
y = 2
sol = 4

# Initialize scores
Problem1 = 0
Problem2 = 0

### Run tests
# Problem 1: Test for a correct result
if add(x, y) == sol:
    Problem1 = 50

# Problem 2: Test if the result is a float
if isinstance(add(x, y), float):
    Problem2 = 50

# Print the result in a json string and give the Problems
# appropriate names
print(json.dumps({ 'scores': { 'Correctness': Problem1,
                              'Float': Problem2 } }))
The handout file to the students add.py-handout could look like:
# Complete the function add()

def add(x, y):
The Makefiles now look like:
Makefile:
all:
	rm -rf add-handout
	rm -rf autograde
	mkdir add-handout
	mkdir autograde

	<span style="color:red"># Fill the add-handout folder and create add-handout.tar
	# add-handout.tar will be available for the students to download</span>
	cp -p src/add.py-handout add-handout/add.py
	tar cvf add-handout.tar add-handout

	<span style="color:red"># Fill the autograde folder and create autograde.tar</span>
	cp -p src/driver.py autograde
	tar cvf autograde.tar autograde

clean:
	rm -rf add-handout.tar
	rm -rf autograde.tar
autograde-Makefile:
<span style="color:red"># Same structure as in section "Getting Started"</span>
all:
	tar xvf autograde.tar
	cp add.py autograde
	(cd autograde; python3 ./driver.py)

clean:
	rm -rf *~ autograde
Install the new assessment add as described in section Getting Started. Remember to call your Problems “Correctness” and “Float” for this example, as they are specified like that in driver.py.

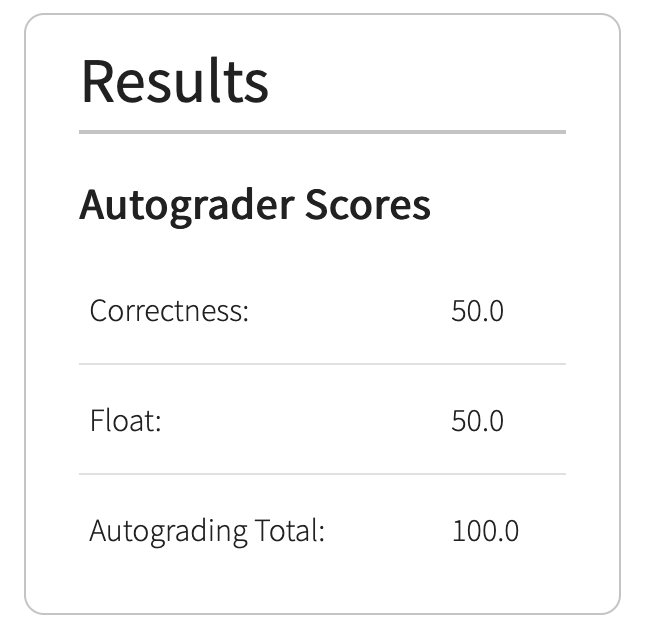
Try submitting a solution file in the submission window. After you click Submit you will see a submission summary:

Clicking on one of the scores will display the autograder output and the results like:
Example 2: Testing with data
In this example the students are asked to write a function that performs matrix multiplication. The autograder uses matrices stored in additional files to test the student submissions.
We will have to make the following modifications to the example in “Example 1”.
Create two files which store matrices and store these files in src. Modify Makefile to make sure that autograde.tar will include these matrix files. Your driver.py file has to load the data from the files and can then use them to grade the student submission.
This example assessment will be called matmult and the relevant files could look like the following:
- driver.py # Autograder
- matmult.py-handout # Blank solution.py file handed out to students, where students can enter their solution
- matrix_A.npy
- matrix_B.npy
driver.py:
from matmult import matmult
import numpy as np
import json

A = np.load('matrix_A.npy')
B = np.load('matrix_B.npy')
sol = np.matmul(A, B)

Problem = 0

if np.array_equal(sol, matmult(A, B)):
    Problem = 100

print(json.dumps({ 'scores': {'Correctness': Problem} }))Makefile:
all:
	rm -rf matmult-handout
	rm -rf autograde
	mkdir matmult-handout
	mkdir autograde

	cp -p src/matmult.py-handout matmult-handout/matmult.py
	tar cvf matmult-handout.tar matmult-handout

	cp -p src/driver.py autograde
	<span style="color:red"># Copy the matrix files from src into autograde/</span>
	cp -p src/matrix_A.npy autograde
	cp -p src/matrix_B.npy autograde
	tar cvf autograde.tar autograde

clean:
	rm -rf matmult-handout.tar
	rm -rf autograde.tar
autograde-Makefile:
<span style="color:red"># Same structure as in section "Getting Started"</span>
all:
	tar xvf autograde.tar
	cp matmult.py autograde
	(cd autograde; python3 ./driver.py)

clean:
	rm -rf *~ autograde
Example 3: Assessment Submissions without File Upload/Multiple Choice
In this example the students are asked to directly enter the answer to an assessment on the Autolab Interface.
Autolab has the feature of using embedded forms for this purpose. All that is needed is an html file which dictates how the handin text field should look. This can be a multiple-choice quiz, asking for entire code blocks, and more. Here, we will stick to a simple example for now to demonstrate this feature.
For simply asking a question like “What is 2+2?” we need to create an html file form.html, which could look like:
<!-- form.html creating a headline with the question and
taking a single line as input -->

<div>
    <h6>What is 2+2?</h6>
    <input type="text" name="question" />
</div>
This will create a text field for the students like the following:
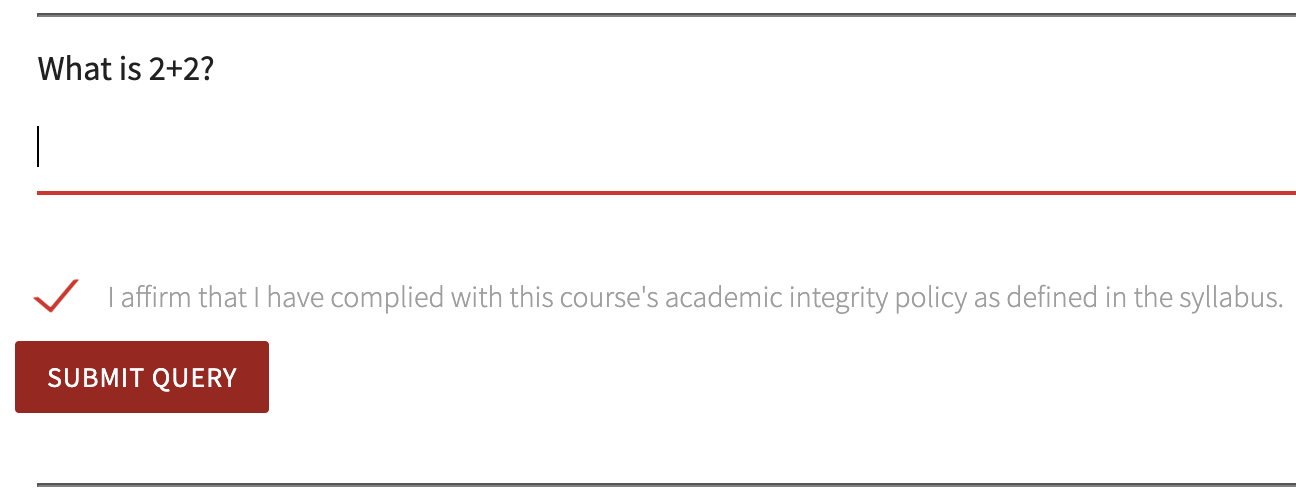
In this example form, we specify the name attribute as “question”. When the form is submitted, the entered value will be sent as the value for the key “question” in the handin file.
After a student submits an answer, Autolab will return the answer in a json string to the autograder. Specify a base name e.g., handin.json.
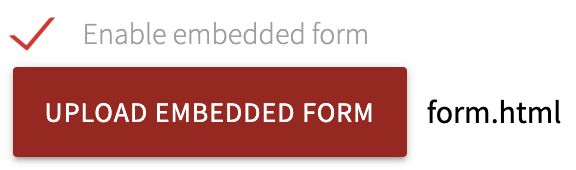
When editing the assessment you have to upload form.html. You can do this under Edit Assessment/Advanced.

Tick the box Enable embedded form and upload form.html.
Next, you will have to modify driver.py. driver.py has to load the Handin file to convert it into a usable Python object. Next, it checks if the value for the key “question” equals the correct answer. Be aware that the answer to our question is given as a string.
driver.py could look like:
import json

with open('handin.json', 'r') as f:
    handin = json.load(f)

correctness = 0

if handin.get("question") == "4":
    correctness = 100

print(json.dumps({ 'scores': { 'Correctness': correctness} }))
Lastly, modify your Makefiles accordingly:
Makefile:
all:
	rm -rf autograde
	mkdir autograde

	cp -p src/driver.py autograde
	tar cvf autograde.tar autograde

clean:
	rm -rf autograde.tar
autograde-Makefile:
all:
	tar xvf autograde.tar
	cp handin.json autograde
	(cd autograde; python3 ./driver.py)

clean:
	rm -rf *~ autograde
After installing the assessment, test your assessment by typing the answer in the text field and submitting it.