Linux & macOS
comp-backup is a small script that configures an automatic and periodic backup of users' home directories - and other directories - on their Linux/macOS desktops/laptops to the server backup.compute.dtu.dk. The backup is based on the rclone tool and data on the server is encrypted with a key kept on the backup client. DTU IT Support has a copy of the key. Names of files and folders are not encrypted but obscured.
This server can also be used when you are not connected to the institute’s network, so you can maintain your backed-up files even when you are abroad.
The server has daily snapshots and keeps them for up to one year. It is possible to restore from those snapshots, using the command comp-backup -r (-r flag is for restoring).
Installation
Note
Setup must be done while connected to DTU network or VPN connection
Download: comp-backup-install.sh (right-click -> save link as)
After downloading the script, open a terminal and as a user (not root) run this:
cd <download-location>
bash comp-backup-install.sh- You will be asked for your DTU username - press
Enterif the correct username is shown, otherwise type it in. - You will be asked for the name of your laptop, make sure it is something like comp-nb1234
- You will most likely be prompted to enter your DTU password.
- Script should end with: Backup script installed - if not, please contact IT Support
- The automatic backup will start after next reboot or log out/log in.
- You can/should run the backup manually at this point, to make sure everything is OK.
- You will get a notification every time the backup succeeds or fails.
macOS specific
Homebrew will be installed as a few commands are needed from here.
Note
A couple of manual steps to grant permission are needed. The install script will run these for you, but be aware of issues if you say no to these.
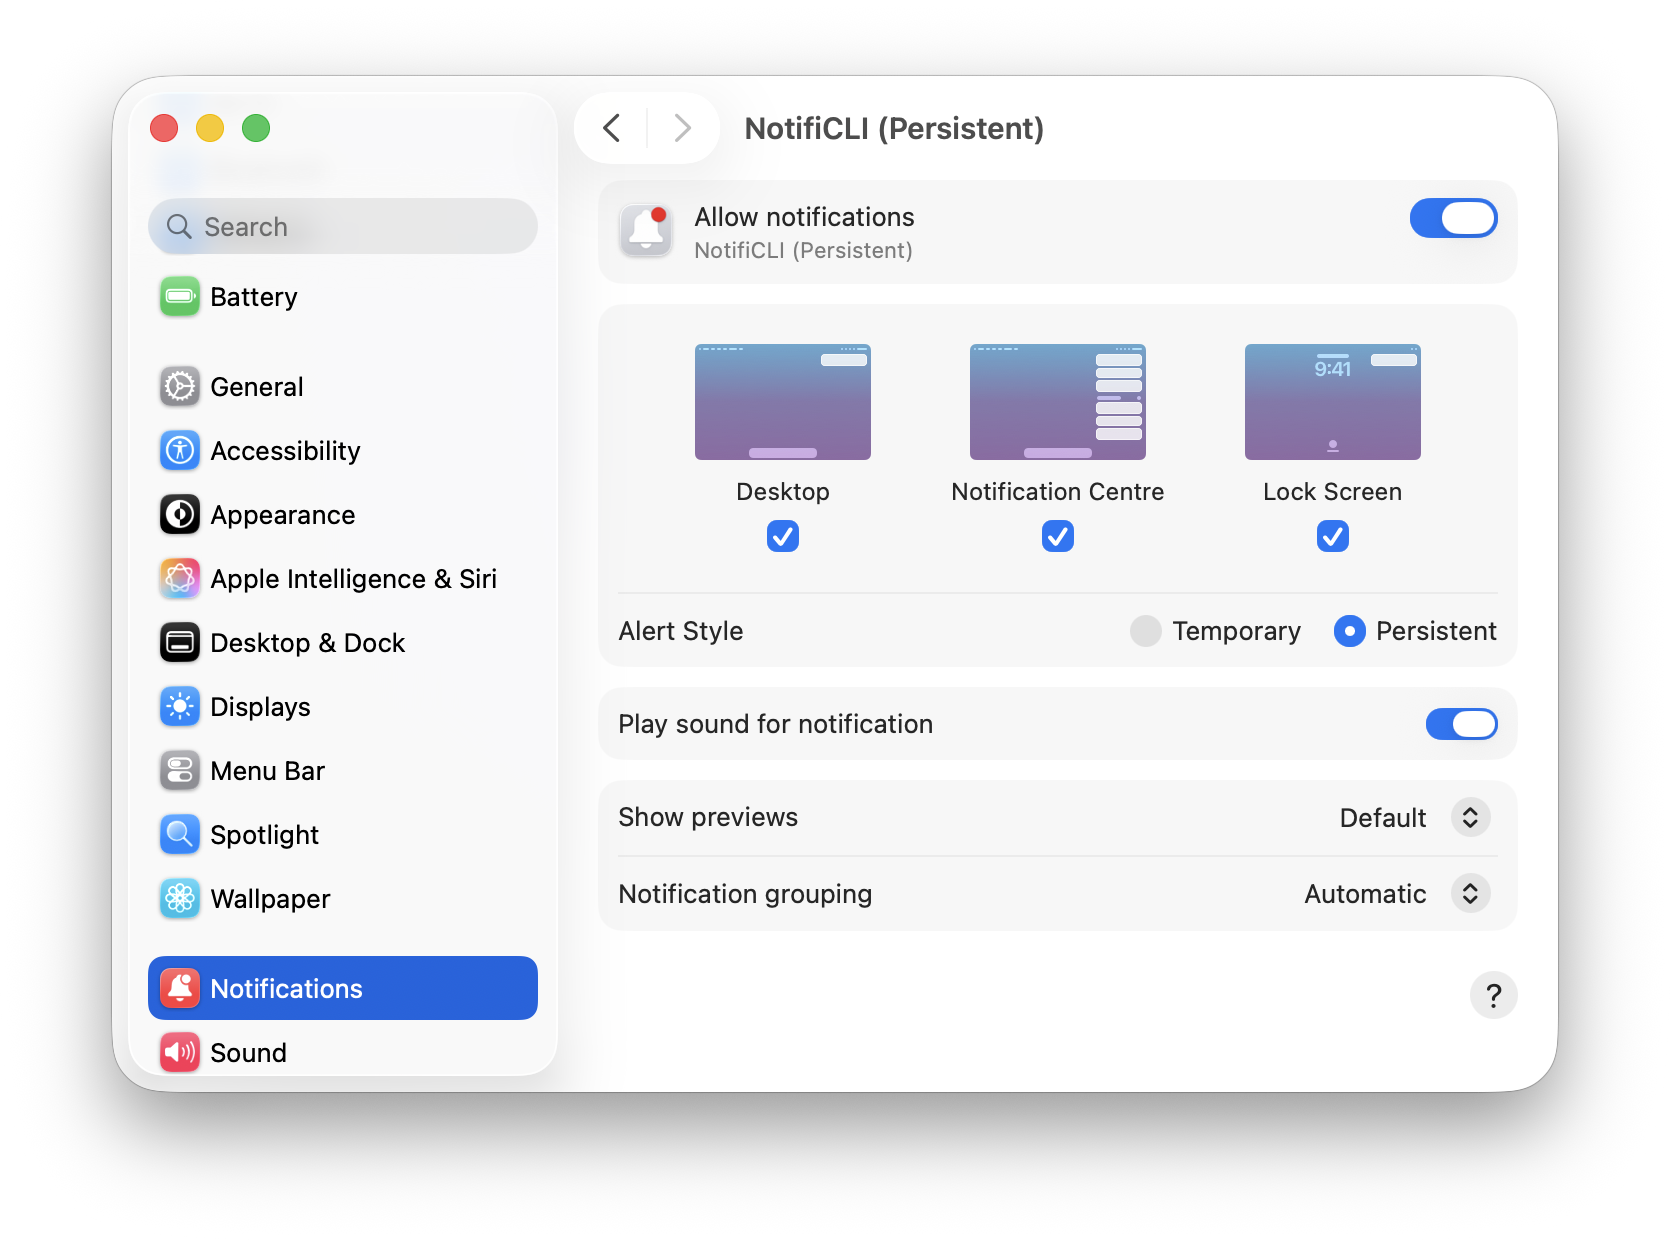
- Notifications, handled by the NotifiCLI will need permissions to be shown.
- For NotifiCLI allowing it is enough, so it uses the “Temporary” Alert Style.
- For NotifiCLI (Persistent) make sure to set “Persistent” as the Alert Style.
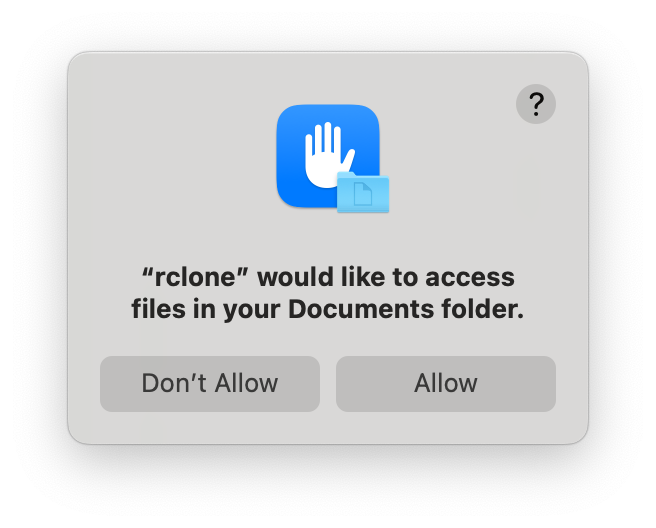
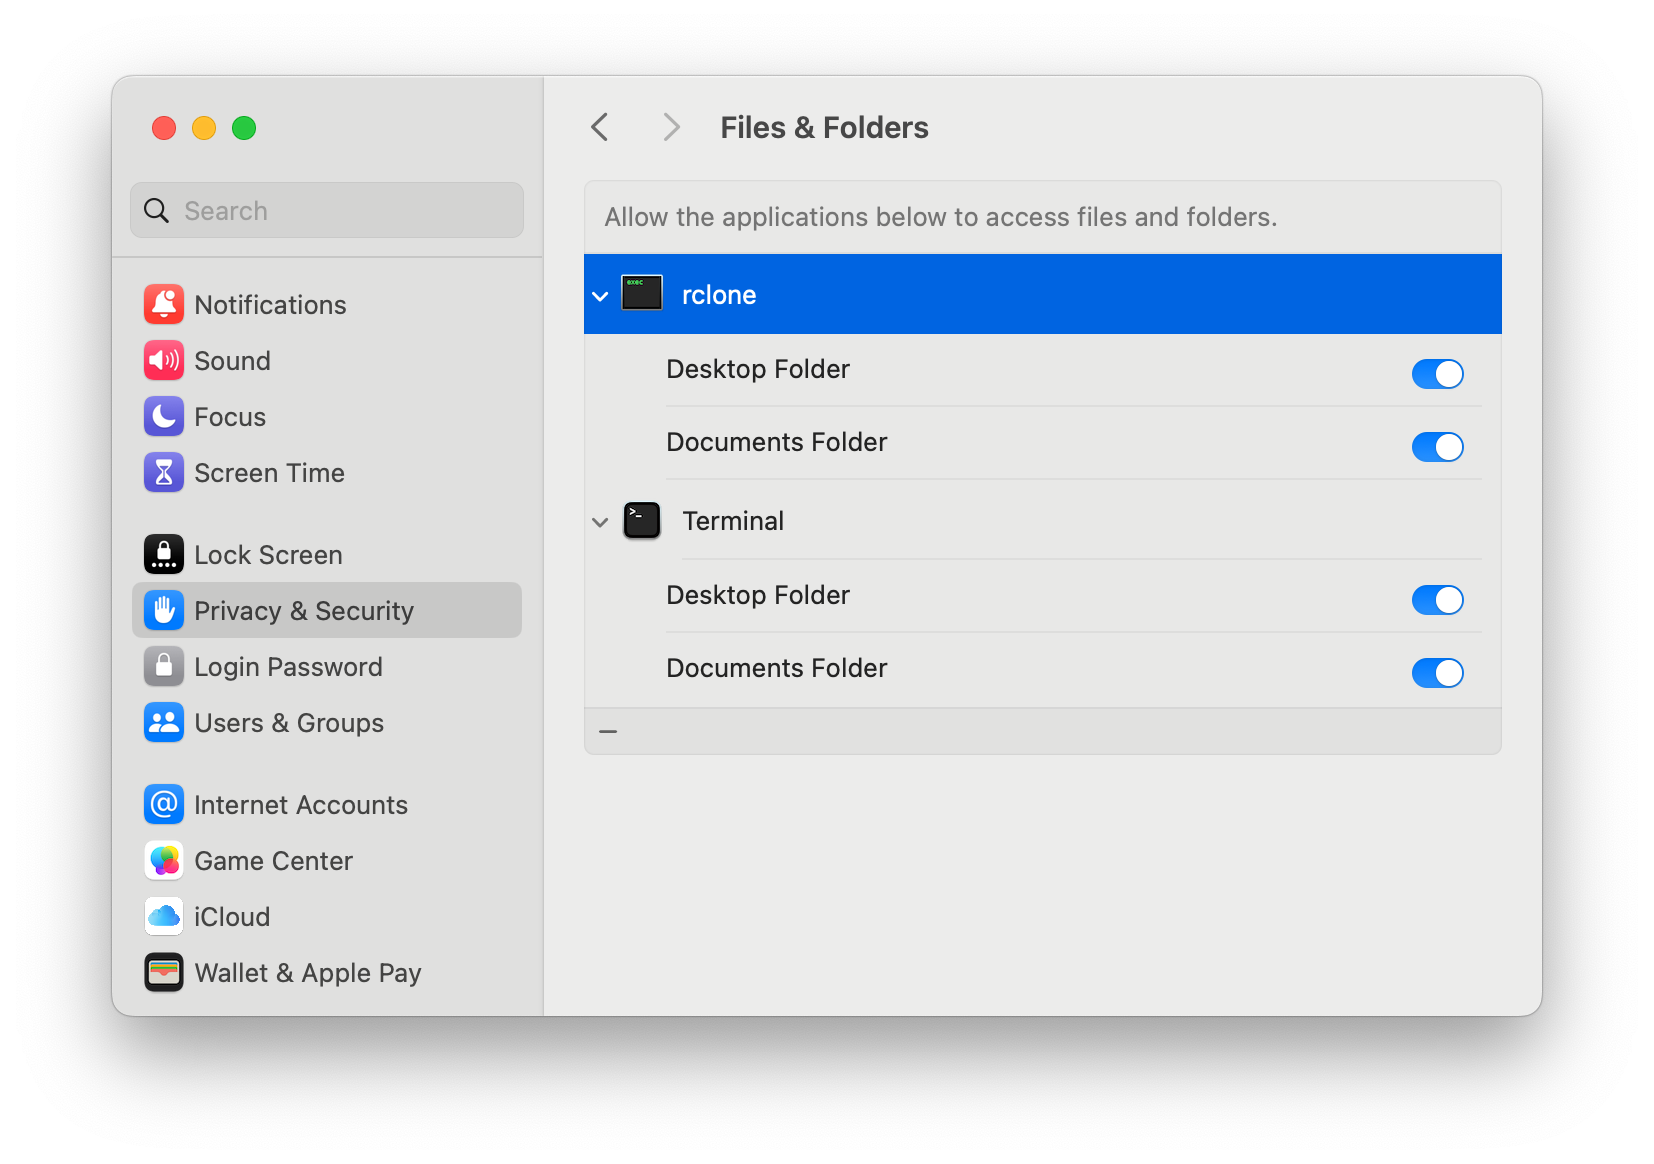
- Folders in your home-dir, specifically Documents and Desktop need permission to be accessed by
rclone. - If running the script manually in a terminal, the Terminal app should be allowed to access these folders as well.
Configuration
The important files are:
~/.config/comp-backup/filter
Describes what to include and what not to include in the backup.
Note: if no local changes are made, the file can be updated
automatically.
~/.config/rclone/rclone.conf
Will have 2 files added by the installer: [compbackupserver]
and [compbackup]. If you are using rclone for other purposes there
might be other sections in this file. You should normally not edit this
file.
~/bin/comp-backup
The backup script created after installation.
~/.local/share/comp-backup/backup_logfile
Log of backup process
Periodic backup
By default the backup script will run every 3 hours. On Linux a backup will also be taken 5 minutes after bootup, whereas on macOS the first backup will be 3 hours after bootup. This assumes that a network connection is active, and that the machine is not in sleep/hibernation mode.
You can change the backup frequency by editing:
~/Library/LaunchAgents/local.comp-backup.plist
Change the StartInterval (in seconds)
<key>StartInterval</key>
<integer>10800</integer>Manual backup
It is also possible to run a backup manually from a shell at any time, by running:
comp-backupNote: The first time it is executed it might run for some time as it is copying all your files (except those filtered) to the remote server.
Options:
comp-backup -h

DTU Compute backup script

Runs a periodic backup on a DTU Compute Laptop, using Rclone.

Read useful info about Rclone and the backup script here:
https://itswiki.compute.dtu.dk/comp-backup

Options:
  -h, help      Show this help text
  -f, filter    Open filter file in text editor
  -r, restore   Select snapshot to restore from
How to check if it is running, how the backup went etc.
Look in ~/.local/share/comp-backup/backup_logfile
Browse files on the server with:
rclone ncdu compbackup:Backup did not complete
A persistent notification pop-up will show up, with an option to see the problem files.
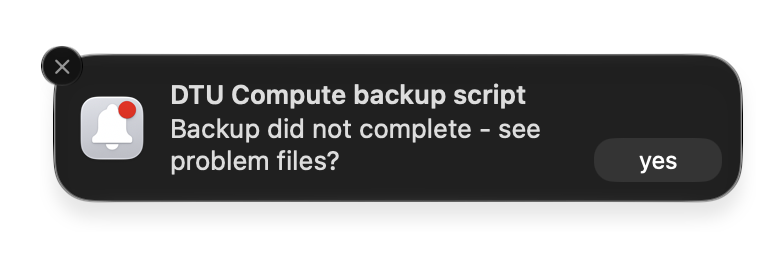
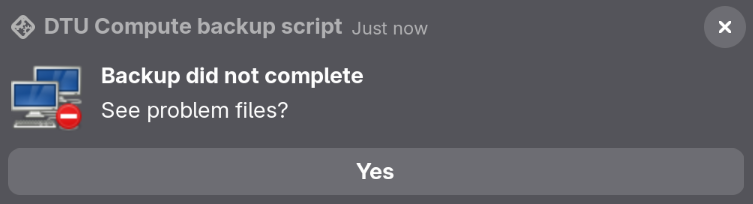
It is necessary to react to this, either by clicking Yes or by disregarding it by clicking on the pop-up.
How to restore
To restore:
- [Optional] Look in
backup_logfileto see which snapshot has the file you want to restore from - Start a terminal
- In the terminal, type
comp-backup -rin order to select the snapshot you want to restore from - To do the actual restore
source /tmp/rclone_snapshot
rclone copy compbackup:home/username/Myproject ~/Myproject_restore
Common questions
How to restore from a different machine?
If you still have access to the backup client (i.e., the machine that
did the backup) you must manually copy the rclone.conf file to the new
client. If you don’t have access to the old client, you must contact
itsupport@compute.dtu.dk.
comp-backup gives an error with files/folders with long names?
Yes, because of the encryption, file/folder names are limited to 143
chars. Either rename or exclude them via the filter.txt.